The Mass Actions feature in NextGenAiAssistant – Bulk Content Generator also allows you to generate content for categories, such as descriptions or translations. This is useful for quickly adding or updating content across multiple categories, ensuring consistency and enhancing the presentation of your catalog.
Follow these steps to generate content for categories:
1. Access the Category List
- In your PrestaShop admin panel, go to Catalog > Categories to view your list of categories.
- Use filters if necessary to narrow down the selection to specific categories for which you want to generate content.
2. Select Multiple Categories
- Check the boxes next to the categories you want to include in the mass action.
- You can select individual categories or use the “Select All” option to include all categories on the current page.
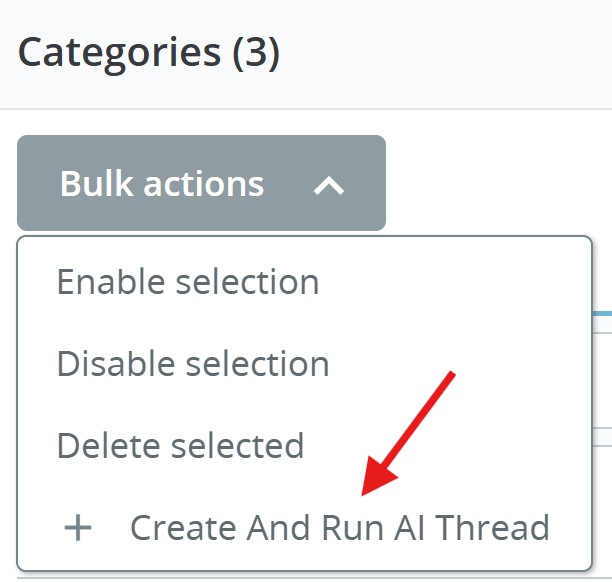
3. Open the Mass Actions Menu
- Once you’ve selected your categories, click on the Mass Actions button.
- Choose Create And Run AI Thread from the dropdown menu. This will open the mass action configuration panel where you can set the parameters for the content generation.
4. Configure Mass Action Settings
- Template: Choose a predefined prompt template if you have one. Templates provide a consistent structure for content requests, helping streamline the generation process.
- Prompt Text: Use this optional field to add additional instructions to refine the AI’s output. For example, you could specify a desired character count, add keywords, or request a certain tone. This is added on top of the main prompt defined by the selected Prompt Type.
- Prompt Type: Select the type of content you want to generate. For example, choose Generate Category Description to instruct the AI to create a detailed description based on the category data and settings provided.
- Prompt Model: Choose between GPT-4o mini and GPT-4o.
- GPT-4o mini – a more budget-friendly option that may be sufficient for generating basic content. However, its performance can vary depending on the complexity of the task.
- GPT-4o – recommended especially for translations, particularly for longer or more nuanced texts. It delivers significantly more accurate and detailed results, making it the preferred choice for high-quality language tasks.
- Languages: Select the language in which the AI will generate the content, ensuring it aligns with your store’s localization requirements.
- Shops: For multistore setups, select the specific store(s) to which this content will apply.
- Additional Parameters:
- Autosave: When enabled, the generated content will be saved directly to the category without requiring manual review or approval.
- Backup: Select this option to create a backup of the current category content before applying the new AI-generated content.
- Exclude Completed Records: When enabled, previously processed records within the selected prompt type will be excluded from the generation process, preventing duplicate processing.
- Exclude Date Start: Defines the start date from which processed records should be excluded. If left empty, no start date restriction is applied.
- Exclude Date End: Defines the end date for excluding processed records. If left empty, no end date restriction is applied.
- Verify Translated Data Before Saving: When enabled, the translated data will be validated before being saved. This helps catch common issues like unclosed HTML tags, broken syntax, or inappropriate content. Recommended for production environments.
- Try To Correct If Translated Data Verification Failed: When enabled, the module will attempt to automatically fix detected issues in translated content before saving. Corrections may include closing tags, removing invalid characters, or grammar adjustments. This option only works if “Verify Translated Data Before Saving” is also enabled.
📘 For more details on how translation verification and correction works, see the guide: Verification and Correction of Translations Guide
⚠️ Note: Enabling translation verification and correction features may result in additional credit consumption depending on the complexity and size of the content.
- Temperature: Adjust the AI’s creativity level. Higher values (up to 2.0) produce more creative outputs, while lower values (closer to 0) result in more consistent, straightforward responses.
- Upload Files: You can upload additional .txt or .pdf files to provide the AI with extra context. For example:
- Category Specifications: Include detailed technical information or specifications to help the AI produce an accurate description.
- SEO Requirements: Add guidelines on SEO keywords, preferred tone, or formatting instructions to tailor the content to your marketing needs.
5. Start the Mass Action
- Once you’ve configured the settings, click Create And Run to initiate the mass action. The selected categories will be processed in the background through queued jobs, utilizing cron jobs to handle the generation tasks.
- Make sure your cron jobs are properly configured to enable seamless processing. For more information on setting up cron jobs, refer to the Cron Job Installation Guide.
6. Monitoring and Managing Generated Content
- After starting the mass action, go to the AI Assistant – Threads tab to monitor the progress of each category’s content generation thread. Each category will have its own thread, showing the status and allowing further actions.
- If Autosave was disabled, you can review and accept each thread’s content manually. For more details on managing individual threads, refer to the Thread Management Guide.
- Use Backup and Retry options as needed to ensure quality and manage generated content for each category.
By using Mass Actions to generate content for categories, you can quickly create or update category information in bulk, enhancing your store’s organization and improving the customer browsing experience. This feature provides a streamlined solution for managing category content across large catalogs.